Many films shape how the public perceives dentistry, and in this how-to you’ll learn to spotlight accurate, compelling dental portrayals on screen with guidance from Dr. Mina Anis; you’ll discover techniques for consulting filmmakers, scripting realistic procedures, advising on props and lighting to convey your professionalism, and turning cinematic moments into opportunities to educate viewers while protecting patient dignity and clinical integrity.
Understanding the Impact of Dentistry in Film
Films repeatedly link dental imagery to trust and fear, shaping how your patients view care. Marathon Man (1976) and The Dentist (1996) use dental torture and malpractice to provoke dread, while Finding Nemo (2003) humanizes a dentist through an aquarium subplot. Filmmakers exploit drill sounds (high-speed handpieces at ~200,000-400,000 rpm) and close-ups to trigger visceral reactions, contributing to dental anxiety reported in roughly 10-20% of populations in some studies.
Historical Portrayals of Dentists
From barber-surgeons in early silent shorts to talkies that amplified the drill’s whine, cinema history repeatedly turned dentists into villains or comic foils. You encounter the sadistic practitioner in Marathon Man (1976), the psychopathic dentist in 1990s horror, and earlier films that reduced dentists to slapstick characters-patterns that entrenched mistrust and shaped expectations about competence and bedside manner across generations.
Cultural Significance of Dental Scenes
Dental scenes operate as cultural shorthand for power, vulnerability, and social standing: a flawless smile signals status, while a forced procedure implies loss of agency. When you view Finding Nemo, the dentist’s aquarium reads as captivity; in thrillers, drills and close-ups communicate betrayal. These depictions influence how communities interpret pain, consent, and when to seek care, reinforcing barriers for some patient groups.
Filmmakers craft that unease using concrete techniques you can spot: macro close-ups of mouths, low-angle shots elevating the practitioner, and sound design emphasizing high-frequency drill tones around 2-4 kHz. You can mitigate those cinematic effects in practice by explaining instrument function, offering pre-visit orientation, and normalizing sounds-strategies used in clinical programs to reduce anxiety and reframe fiction-driven expectations about dental care.
Key Factors in Spotlighting Dentistry
Pinpoint three areas that consistently shape how dentistry lands on screen and how your patients perceive it: accurate clinical detail, narrative placement, and visual storytelling.
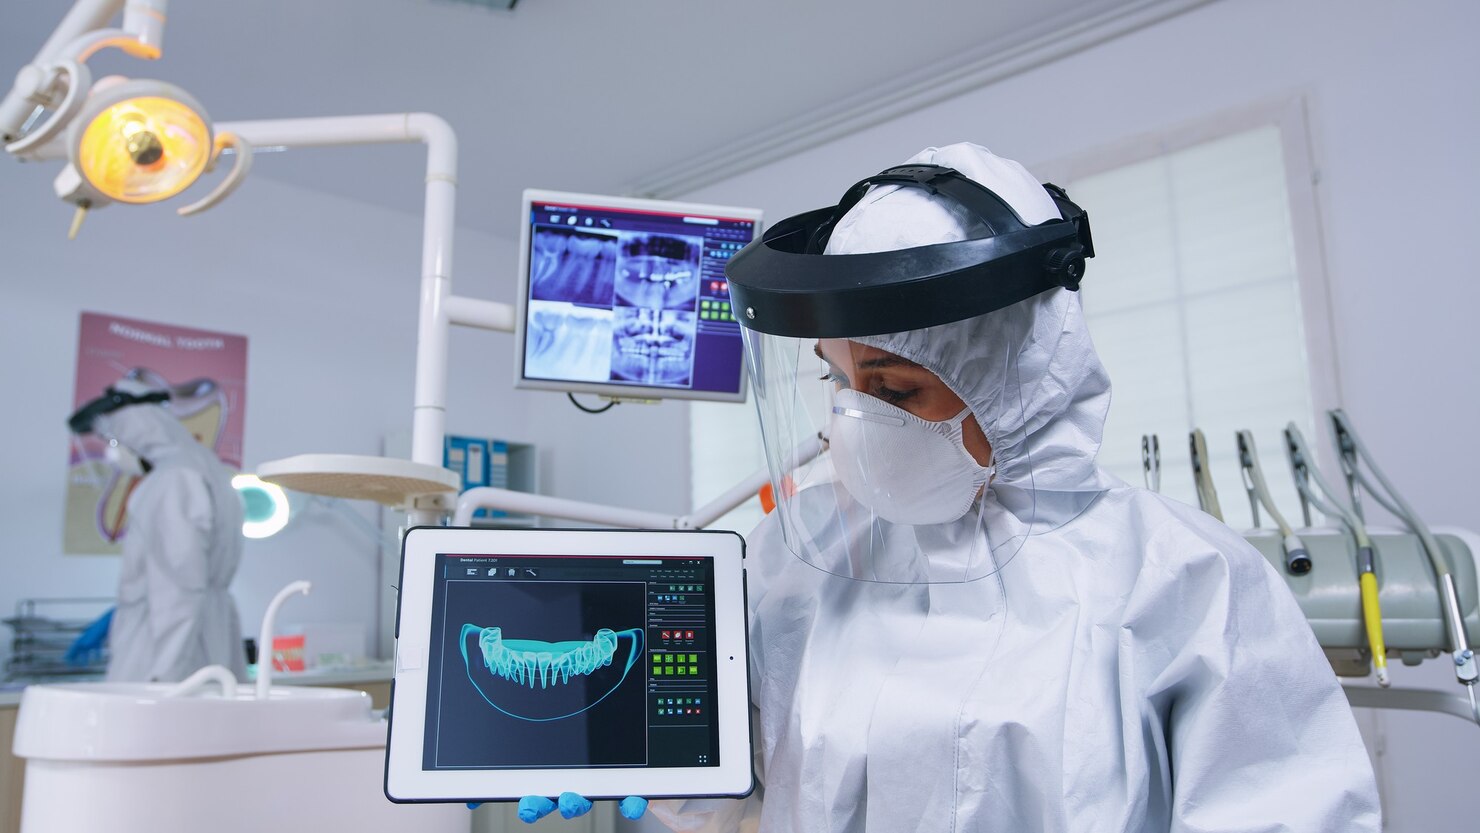
- Accuracy: show PPE, four‑handed technique, and realistic instruments to avoid disbelief.
- Narrative: weave dentistry into character stakes-trust, trauma, or professional ethics-rather than using it as shock value.
- Visuals: lighting, sound design, and camera angles influence whether a procedure reads as clinical or horrific.
The interplay of these elements determines whether dentistry educates, alarms, or inspires viewers.
Authentic Representation of Dental Practices
When you depict an operatory, include the workflow and tools that signal legitimacy: a sterile tray with mirror, explorer, high‑speed handpiece and saliva ejector, proper PPE and ergonomic positioning; routine restorative visits typically run 20-60 minutes, while endodontic sessions can extend to 60-90 minutes. Small touches-a visible dental chart, patient consent forms, or a tech preparing anesthetic carpules-lend credibility and reduce the “movie set” feel so viewers accept your story as believable clinical practice.
Engaging Storylines that Feature Dentistry
You can center plots on ethical dilemmas (overtreatment vs. access to care), staff dynamics in a busy clinic, or patient narratives about fear and recovery; Marathon Man (1976) used dental terror as central conflict, while Finding Nemo reframed a dentist’s office as both threat and sanctuary. Use dentistry to explore character backstory-an abandoned patient who avoids care, or a dentist facing burnout-to make the specialty integral rather than incidental.
To deepen engagement, layer stakes: quantify the consequences (missed appointments leading to systemic infection or a delayed diagnosis of oral cancer), show realistic timelines for treatment, and use supporting characters-hygienists, lab techs, receptionists-to reveal system pressures; these specifics make dentistry a plot engine and give you opportunities to model compassionate communication, informed consent, and public‑health themes within the narrative.
Tips for Filmmakers
When staging dental scenes you should plan for authentic props and timed choreography: use a real dental mirror, explorer and high-volume suction, rehearse four-handed sequences for 2-3 hours, and schedule a dentist for at least 1 day of on-set consultation. Close-ups must show correct angulation-instrument tips pointing toward the occlusal surface-and avoid obvious errors like wrong gloves or mirror reversal. Thou must hire a licensed dental consultant to sign off on final shots.
- Hire a dentist or hygienist for 1-3 days of consultation and on-set supervision
- Use authentic instruments: mirror, explorer, syringe, suction, rubber dam
- Rehearse four-handed dentistry for 2-4 hours with actors and stand-in assistant
- Shoot close-ups and capture 10-20 minutes of real B‑roll under consent
Collaborating with Dental Professionals
Engage a dentist early: you should bring them into preproduction to script-check terms, flag unsafe staging, and map realistic patient reactions; many productions book a dental consultant for 1-3 days at rates commonly between $300-800/day. On set they can coach actor posture, verify instrument use, and approve prosthetics. If you simulate anesthesia or injections, have a licensed clinician supervise to avoid malpractice risk.
Researching Dental Techniques and Terminology
Start with a short glossary: you should learn terms like occlusion, prophylaxis, endodontics, crown prep, and matrix band; instruments to recognize include mouth mirror, explorer, high-speed handpiece, and suction. Watch 10-15 minute procedural clips from dental schools or the ADA for visual cues, and note typical durations-cleanings 15-30 minutes, composite fillings 20-40 minutes-to pace edits.
Dig deeper by watching accredited continuing-education videos (ADA, dental school channels) and reading procedure guides: root canal access commonly requires 60-90 minutes while a single-surface composite restoration often takes 20-30 minutes in practice. You should film real procedures with patient consent for B‑roll, annotate the sequence of steps (isolation, access, irrigation, obturation), and overlay accurate audio to match suction and operatory sounds.
How to Effectively Communicate Dental Concepts
When you translate dental ideas for viewers, break them into purpose, process and patient impact: state what the tooth/problem is, show how treatment fixes it, and show the expected outcome. Use 30-60 second explainer clips for procedures like fillings, crowns or implants, swap technical terms for plain language (pulp → nerve tissue), and pair narration with on-screen labels so audiences grasp clinical choices without glossing over risk or recovery timelines.
Simplifying Complex Procedures for Audiences
Use chunking and analogy to reduce cognitive load: describe a root canal in three clear steps-diagnosis, cleaning the canals, and sealing-then compare it to cleaning and resealing a clogged pipe. Provide realistic timeframes (45-90 minutes), note typical sensations (pressure vs. sharp pain), and show before/after visuals so viewers link each step to a tangible benefit.
Visual Representation of Dental Tools and Techniques
Prioritize clarity with close-ups, cross-sections and color-coded overlays that identify tools (handpiece, probe, scaler) and their motions; show a 3D implant placement sequence to illustrate bone contact over months, and use split-screen comparisons of correct vs. incorrect technique to teach posture and angles without verbose explanation.
Go further by labeling measurements (mm for probe depths, torque values for implants), using slow-motion for high-speed instruments, and alternating real footage with simplified 3D renderings so you maintain authenticity while exposing hidden mechanics-this combination helps your audience understand both what happens and why it matters for oral health outcomes.
Creating Memorable Dental Characters
You anchor scenes by giving dentists a clear professional skill set, a private conflict, and distinctive props (mirror, scaler, suction) that recur as visual motifs. Use two or three small gestures-tapping a mirror, a steadying breath-to signal temperament. Marathon Man (1976) and Finding Nemo (2003) show how a single prop or line can stick; structure a three-act arc where patient trust shifts to make your dental character unforgettable.
Developing Multi-Dimensional Dentist Characters
You layer technical competence with private stakes: show accurate procedure language, then reveal fears, family pressures, or ambition. Build scenes around three anchored traits-skill, a secret, and a habit-and create two conflict beats (an emergency extraction and an ethical choice) that test them. Laurence Olivier’s Dr. Szell demonstrates how history informs practice, while Seinfeld’s Dr. Whatley uses humor to expose professional blind spots.
Balancing Professionalism and Relatability
You convey credibility by weaving correct clinical beats-gloving, bitewing terminology, informed consent-into dialogue, then humanize with small vulnerabilities: a nervous joke, a hobby, or a late-arriving apology. Place one accurate procedure moment per scene to earn trust, and follow it with a relatable beat so the audience sees competence and personhood together.
Use three practical scene beats: consult (2 clear facts and a risk note), procedure (visual cues: mirror, explorer, scaler), and follow-up (phone check or sticky note). Keep jargon light by explaining one term per scene and name tools correctly to signal research. Finally, run scripts by one or two dental advisors to catch technical slip-ups and preserve audience trust while you deepen character.
Marketing Dental Films
To turn cinematic dental moments into measurable patient growth, create a distribution plan that blends earned, owned and paid channels: submit to 5-10 local film festivals, run geo-targeted ads within a 10-30 mile radius, and embed a 60-90 second highlight on your homepage and email signature. Studies show up to 70% of patients research providers online, so pair emotional storytelling with clear CTAs and booking links to shorten the path from viewer to appointment.
Identifying Your Target Audience
Segment viewers into 3-4 priority groups and tailor messaging: cosmetic seekers (ages 25-45) who value before/after visuals, parents (30-50) searching pediatric care, and adults 55+ focused on function. Use Google Analytics, Facebook Insights and intake surveys to verify demographics and search terms. You should also map intent signals-searches for “same-day crowns” versus “tooth whitening pricing”-to craft films that answer the exact questions each group has.
Utilizing Social Media and Promotions
Prioritize short-form video on Instagram Reels and TikTok, which often drive 2-3× engagement over static posts, and allocate roughly 50-70% of your ad spend to video campaigns. You should A/B test 2-3 thumbnails and two CTAs (book vs. learn more), boost top-performing clips locally, and use targeted ads by age, interest and radius to convert viewers into website visits and consults.
Build a content cadence: publish 2-3 short clips weekly, pair each with a swipe-up booking link or UTM-tagged landing page, and run one monthly promotion (e.g., discounted exam code tracked via promo ID). Collaborate with a local influencer (example: 20k followers) for a behind-the-scenes reel, measure referrals by unique codes, and optimize weekly based on CTR and booking rate to scale what works.
Final Words
Now you have practical, film-tested techniques to make dental scenes authentic, educational, and engaging; apply clear dialogue, accurate procedures, and cinematic framing to build trust in your characters and your message, consult experts like Dr. Mina Anis when needed, and ensure your storytelling elevates public perception of dentistry.


